Hello, friends!
Right now is undoubtedly a stressful time. Between waiting for the US presidential election results and dealing with midterm tests and the rest of my online schoolwork, I feel that stress is currently at an all-time high.
To take my mind off things, I took a shot at making my very own bubble tea pearls from scratch. If you have the ingredients on hand or accessible to you, I encourage you to give it a try!
I was initially interested in trying out this recipe because I do not live that close to any bubble tea shops – VERY SAD.
Moreover, while it took me a few tries to get the hang out if down, making your own bubble tea pearls should be a lot cheaper than paying ~$5 every time for a cup. This recipe is also good to try with friends – cue social hour!
The rest of this article includes a recipe that I tested many times. It is an instructional guide to making your very own tapioca bubble tea pearls from scratch.
Even if ingredients are not accessible, I hope reading this lighthearted article can help you take your mind off of the greater circumstances of the world now.
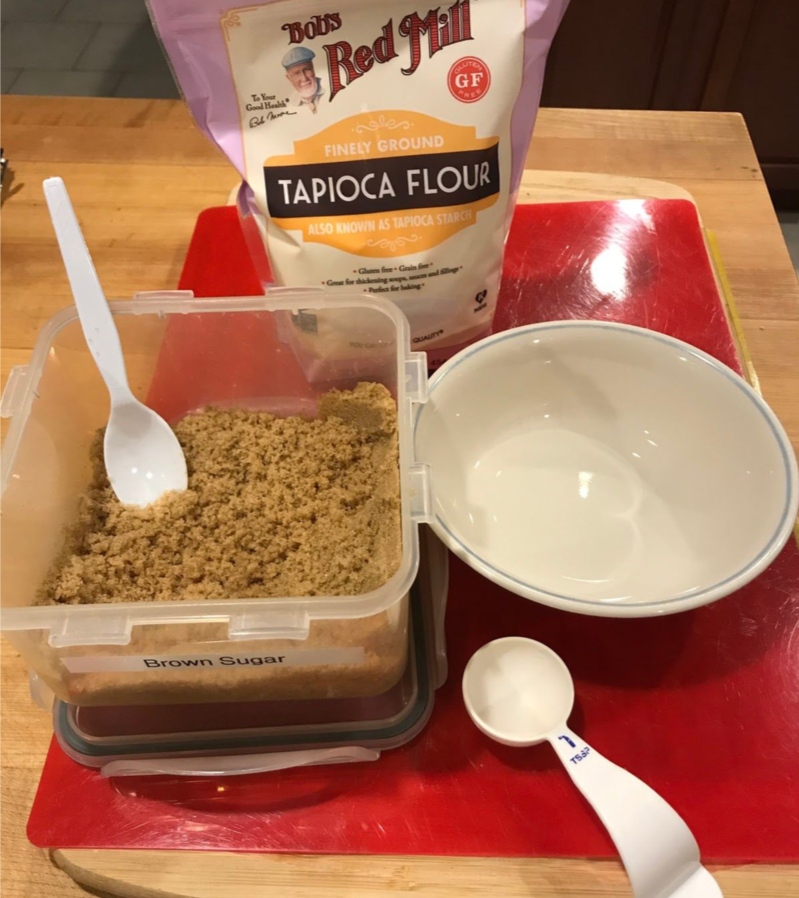
To begin, you need three ingredients (pictured and listed below):
- Tapioca Flour
- Brown Sugar (I used light brown sugar but dark brown sugar will lead to a darker, more
conventional color for the pearls) - Water
You will also need the following utensils:
- Rubber spatula
- Frying pan
- Stovetop
This recipe is for a single serving however can always be doubled, tripled, etc. The quantities of our ingredients are 3 tablespoons of tapioca flour, 1 tablespoon of water, and approximately 1.33 – 1.5 tablespoons of water.
I actually eyeball the amount of water but this ratio should be fine – as long as there is a little bit more water than sugar.
Making the Pearls
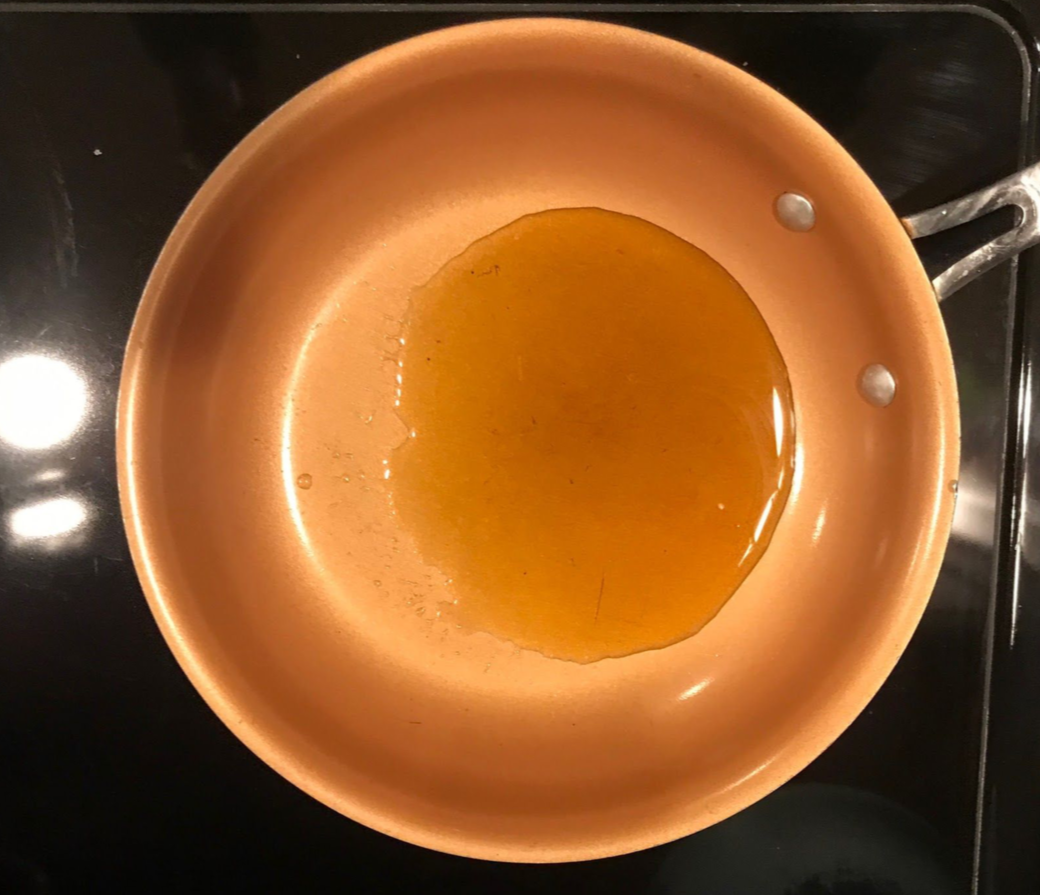
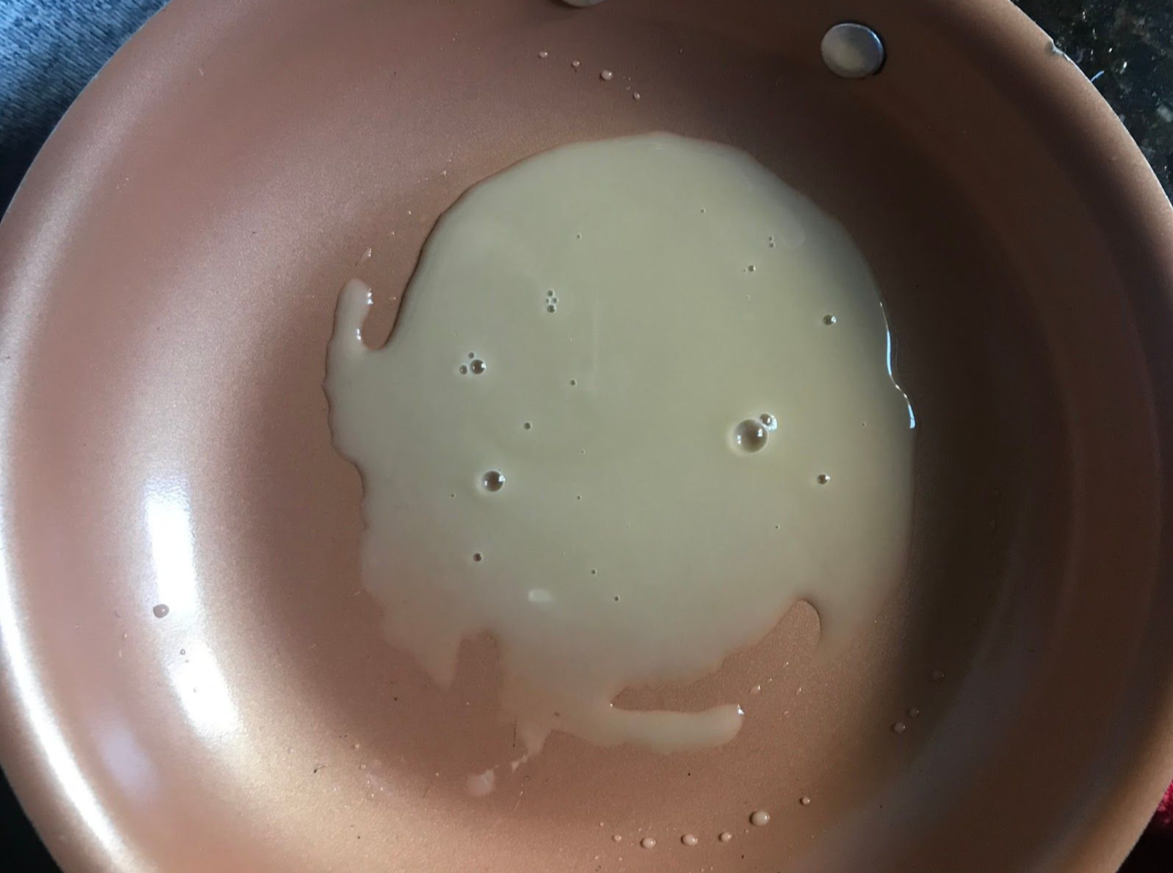
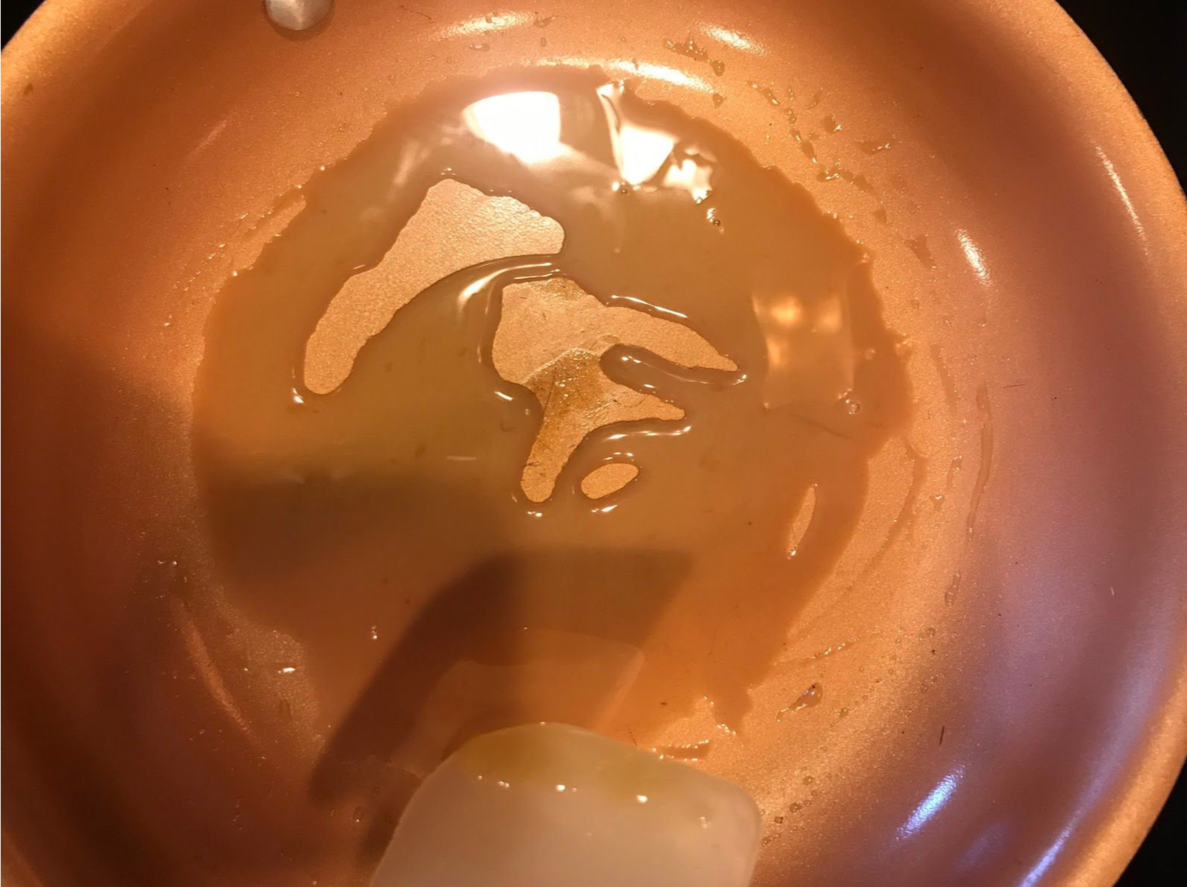
Step 1) On low heat (I set my stovetop to the second setting), heat the water and brown sugar until the sugar is dissolved.
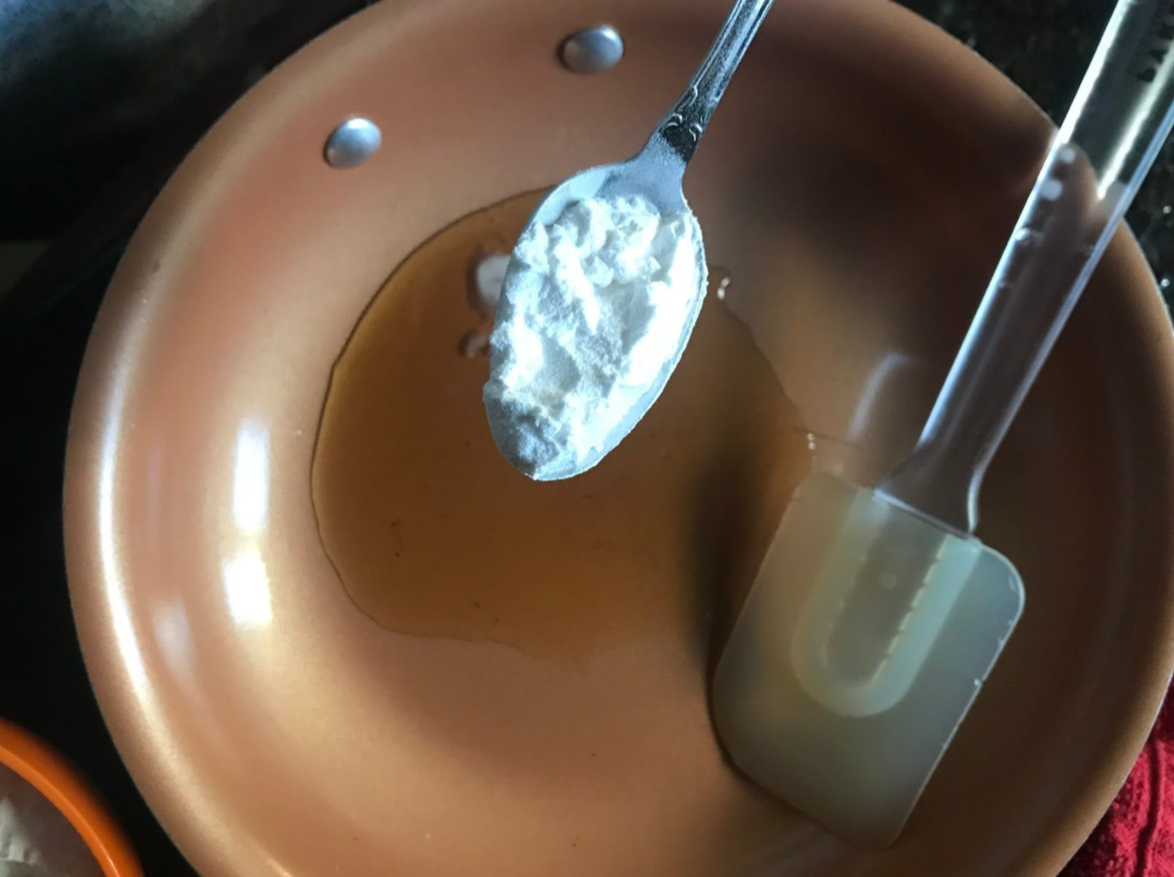
Step 2) Once the sugar has dissolved, take the pan off the heat and add one teaspoon of tapioca starch and mix together until combined. After combined, return to heat.
Step 3) Keep the dough on the stove/oven top until the mixture becomes slightly thickened – you’ll notice it’s not nearly as liquidy as before – and add the rest of the tapioca flour at once while still on the stovetop.
*Note: You can increase the heat by one setting to make the thickening process faster. While every stovetop is different, my mixture of sugar + water + 1 teaspoon of flour took about 4-5 minutes to start to thicken.
 As the mixture slightly thickens, you will find becomes somewhat sticky to the bottom of the pan as well as the spatula.
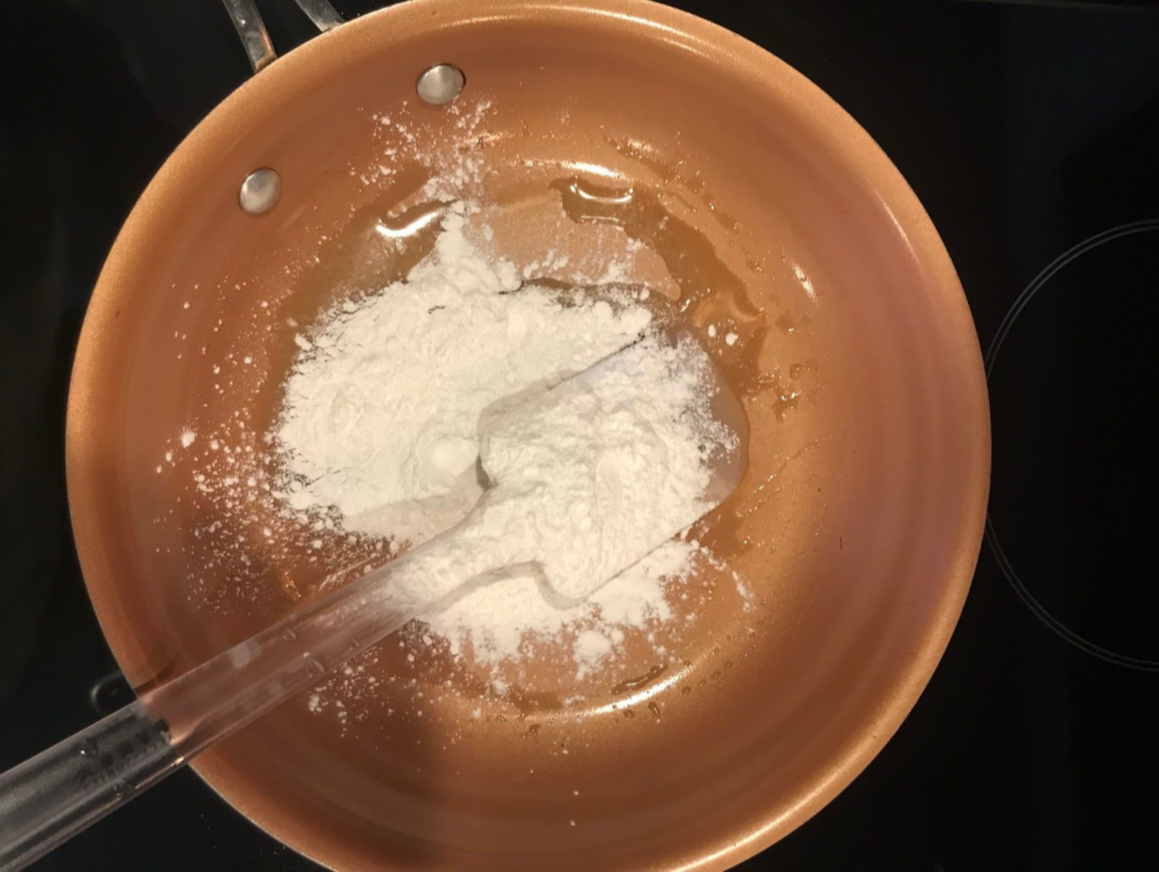 Add the rest of the tapioca flour
Step 4) After the flour has been added to the pan, mix quickly to incorporate the flour into the mixture as best you can.
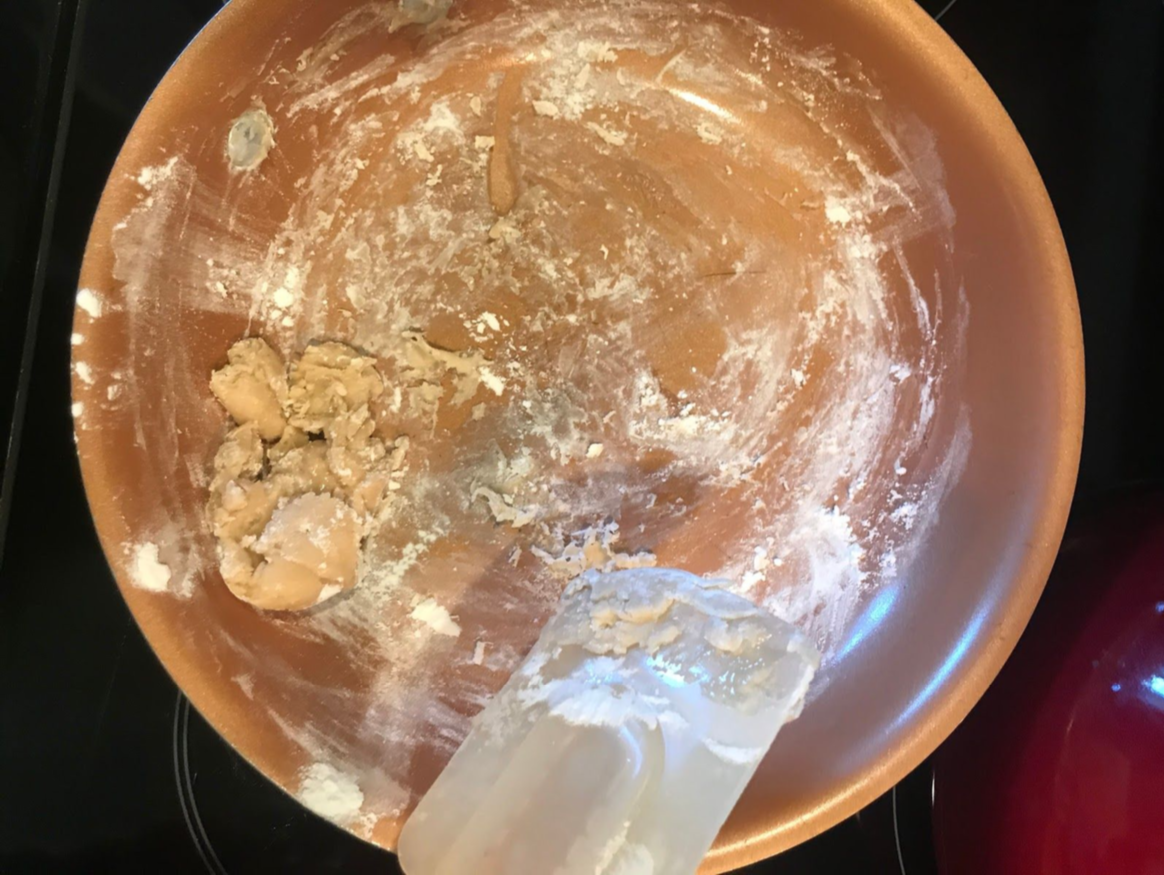 The “dough” probably doesn’t look like conventional dough at this stage but that is okay because we are going to be kneading it in the next step!
Step 5) After the flour has been mixed in, transfer the “dough” to a flat surface, and knead the dough until it becomes a ball of dough.
Then, roll it into long thin logs. Note: Be careful not to over-knead! Just go until the dough comes together.
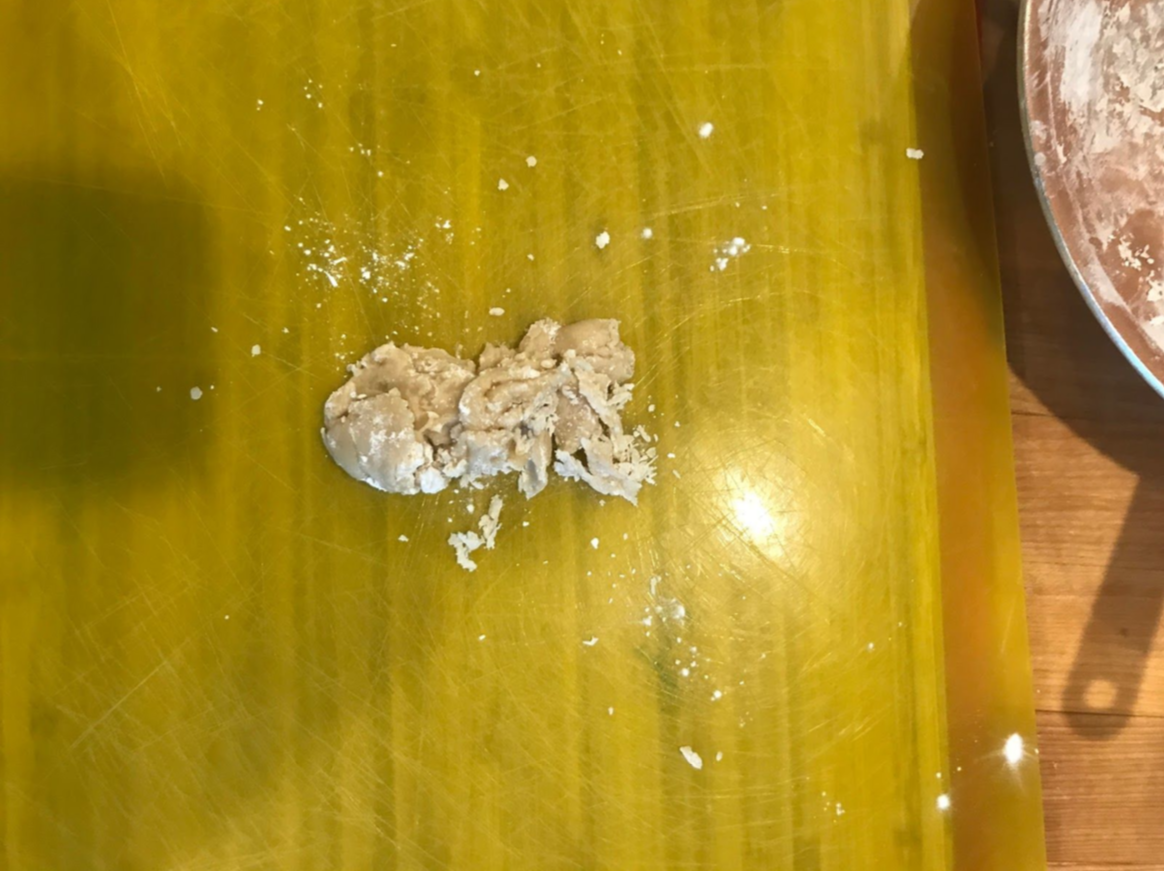 Before kneading
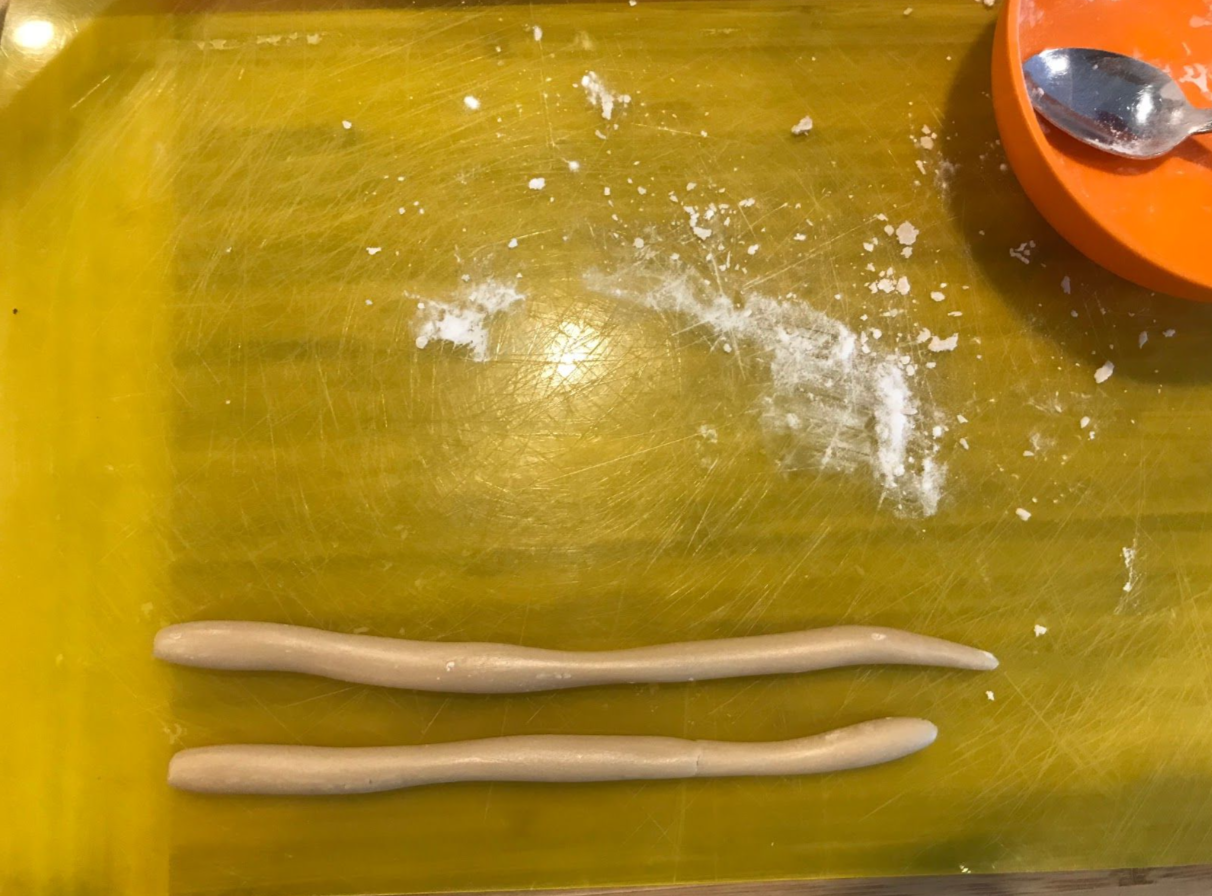 After kneading and rolling into logs
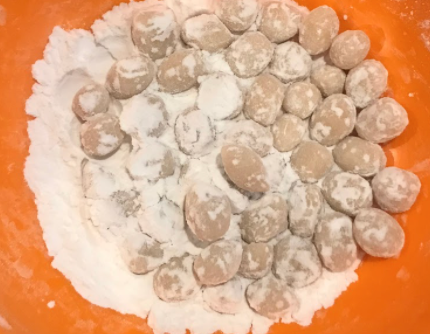
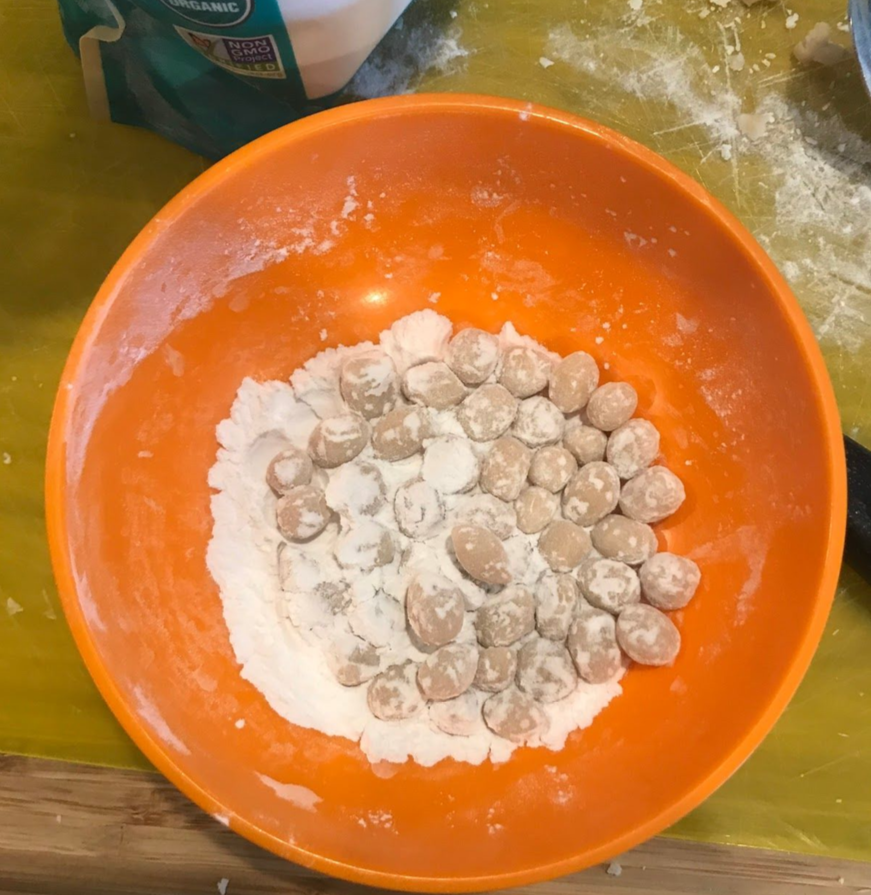
Step 6) Use a sharp knife to cut little pieces off of the logs which you will then roll into balls/pearls using both of your hands. Place the pearls into a bowl with a little tapioca flour which will be used to coat the pearls and ensure they do not stick to each other.
Step 7) Cook! I follow the 30:30 method which means that you cook the pearls for 30 minutes and then let them rest for 30 minutes.
To Cook:
- Bring a pot of water to a boil
- Pop the pearls into the water and stir lightly until the pearls rise/float (Note: Honestly,more than half the time my pearls don’t float and I’ve found that they still come out fine)
- Cook for 30 minutes with the cover off
- After 30 minutes, take the pearls off the heat and let them sit with the cover on for 30 minutes
- After 30 minutes of rest, pop the pearls into a bowl of ice and water for 2 minutes. This helps the pearls get their chewy texture.
- Afterward, put them in your favorite drink and enjoy!
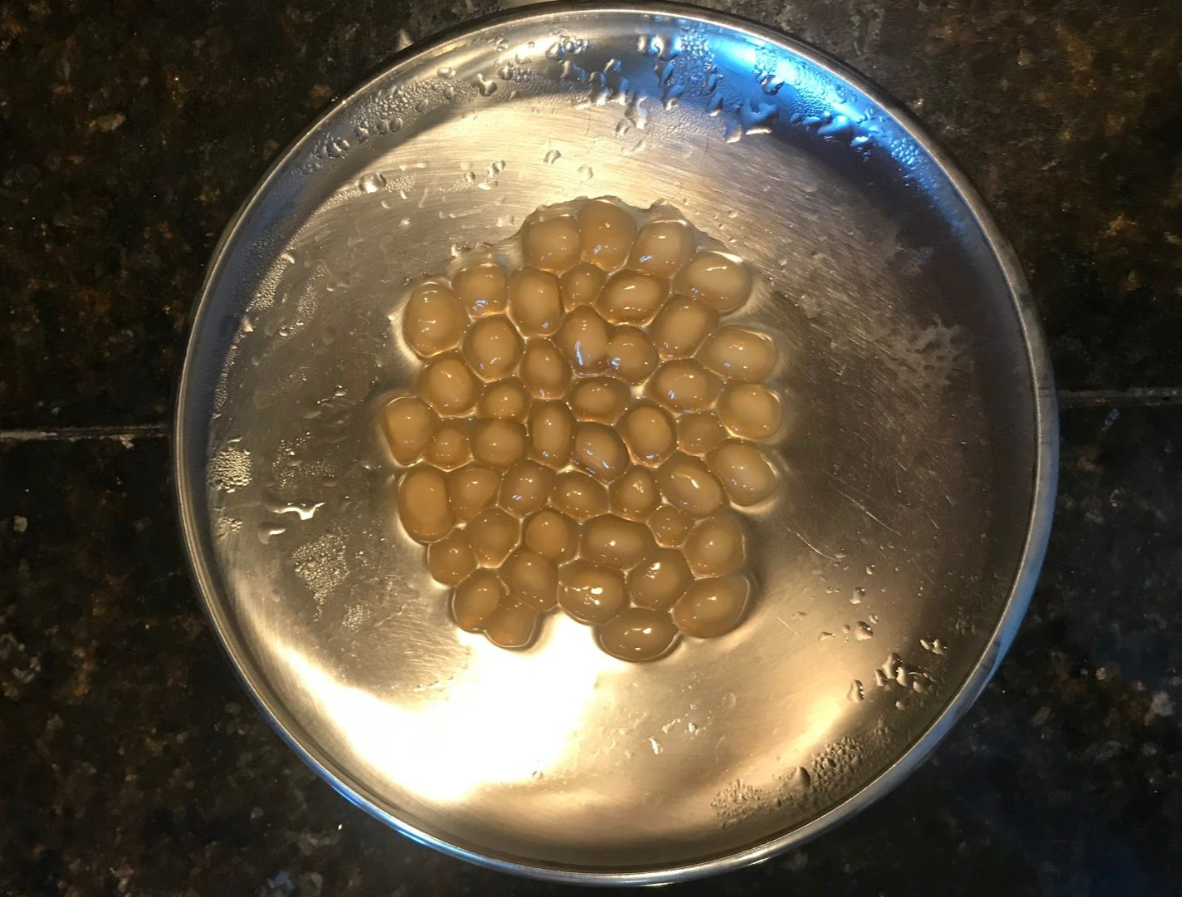
End product below! As mentioned earlier, I have only used light brown sugar to make the pearls which may be why mine are translucent and not black like the boba you find at most boba stores. Additionally, while it may *look* like the pearls are undercooked given their opaque centers, they are actually cooked I assure you.
Overall, I hope you guys will all soon be able to enjoy bubble tea from your very own home. After failing a few times, I thought that I would forevermore be subjected to paying $5 a cup for boba, but I was able to get the hang of it after a few trials so do not give up either! It will all be worth it in the end.
[zombify_post]
0 Comments